Estimate Shipping

| Carrier | Estimated Delivery | Price |
|---|


REV 2.0; 12v-23v DC, fully integrated Xenon flash lamp driver packs all features needed for a portable Photography flash. 50 J/S charge power, with variable flash energy. Board only. Sold without capacitors and lamp
This module is a Portable, variable-power Photography flash.
it powers using a 12v source like a wall adapter or a car battery for on-location photography. A 3.5mm sync socket is included to allow triggering by a sync cord or wireless trigger.
|
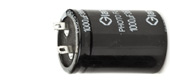
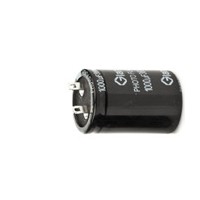
For 130 Joules (WS), order:
2x PHOTO-1000uF-360v |
 |
Click to order |
|
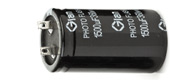
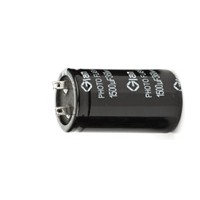
For 200 Joules (WS), order:
2x PHOTO-1500uF-360v |
 |
Click to order |
|
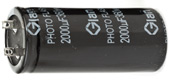
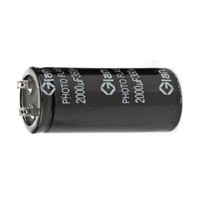
For 260 Joules (WS), order:
2x PHOTO-2000uF-360v |
 |
Click to order |
Module Specifications (V2.0)
•Input Voltage: 12-23v
•Sync port voltage: 5v
•Output capacitor voltage: 250-700v
•Trigger coil output: >6Kv
•Current draw max.: 5A @12v
•PCB dimensions: 70X76mm
This module is delivered to you after being professionally assembled and inspected. It has passed the quality control process successfully.
Please follow connections polarity and safety directions to ensure good functioning of the module and your personal safety.
Thanks for your cooperation !
The module is calibrated to output 250v to 700v
according to the main potentiometer knob position.
Please only use compatible capacitors for the output
- for example two (2) capacitors in series, rated at least 350v each (total 700v).
Always monitor the output voltage using a voltmeter and make sure you do not exceed the capacitors’ voltage rating.
WARNING: This kit involves High Voltage up to 800v which is stored in big capacitors even long after turning the unit off. THIS VOLTAGE CAN CAUSE SEVERE DAMAGE AND INJURY. Never touch any of the components and always discharge the capacitor before working on it. Always keep in a well insulated project enclosure.
BY FOLLOWING THESE INSTRUCTIONS YOU AGREE TO BE THE ONLY RESPONSIBLE FOR ANY DAMAGE THAT MIGHT BE CAUSED BY DOING SO. WORK CAREFULLY AND FOLLOW WARNINGS
Place the capacitors on the top side of the board, following the correct polarity.
Locate the trigger coil, and connect its output (flying wire) to the lamp trigger terminal. This wire should be clipped short, and well insulated.
Solder the capacitor terminals on this side. Pay attention to the middle trace linking the two capacitors:
This trace sould be filled with a thick layer of solder, as the capacitors will discharge into the lamp through this path.
The Xenon flash tube (lamp) should be connected to the two outermost terminals of the capacitors


REV 2.0; 12v-23v DC, fully integrated Xenon flash lamp driver packs all features needed for a portable Photography flash. 50 J/S charge power, with variable flash energy. Board only. Sold without capacitors and lamp